



Disclaimer: AC can be fatal; do not do this at home without the supervision of a professional.
Since we moved to the new apartment, our electricity bills haven't been very consistent. One of my goals over the past few months has been to understand our power consumption. I tried smart plugs, which work great for single appliances but fall short when monitoring an entire household. This month, I discovered Shelly power meters, so I decided to buy a Shelly Pro EM-50:
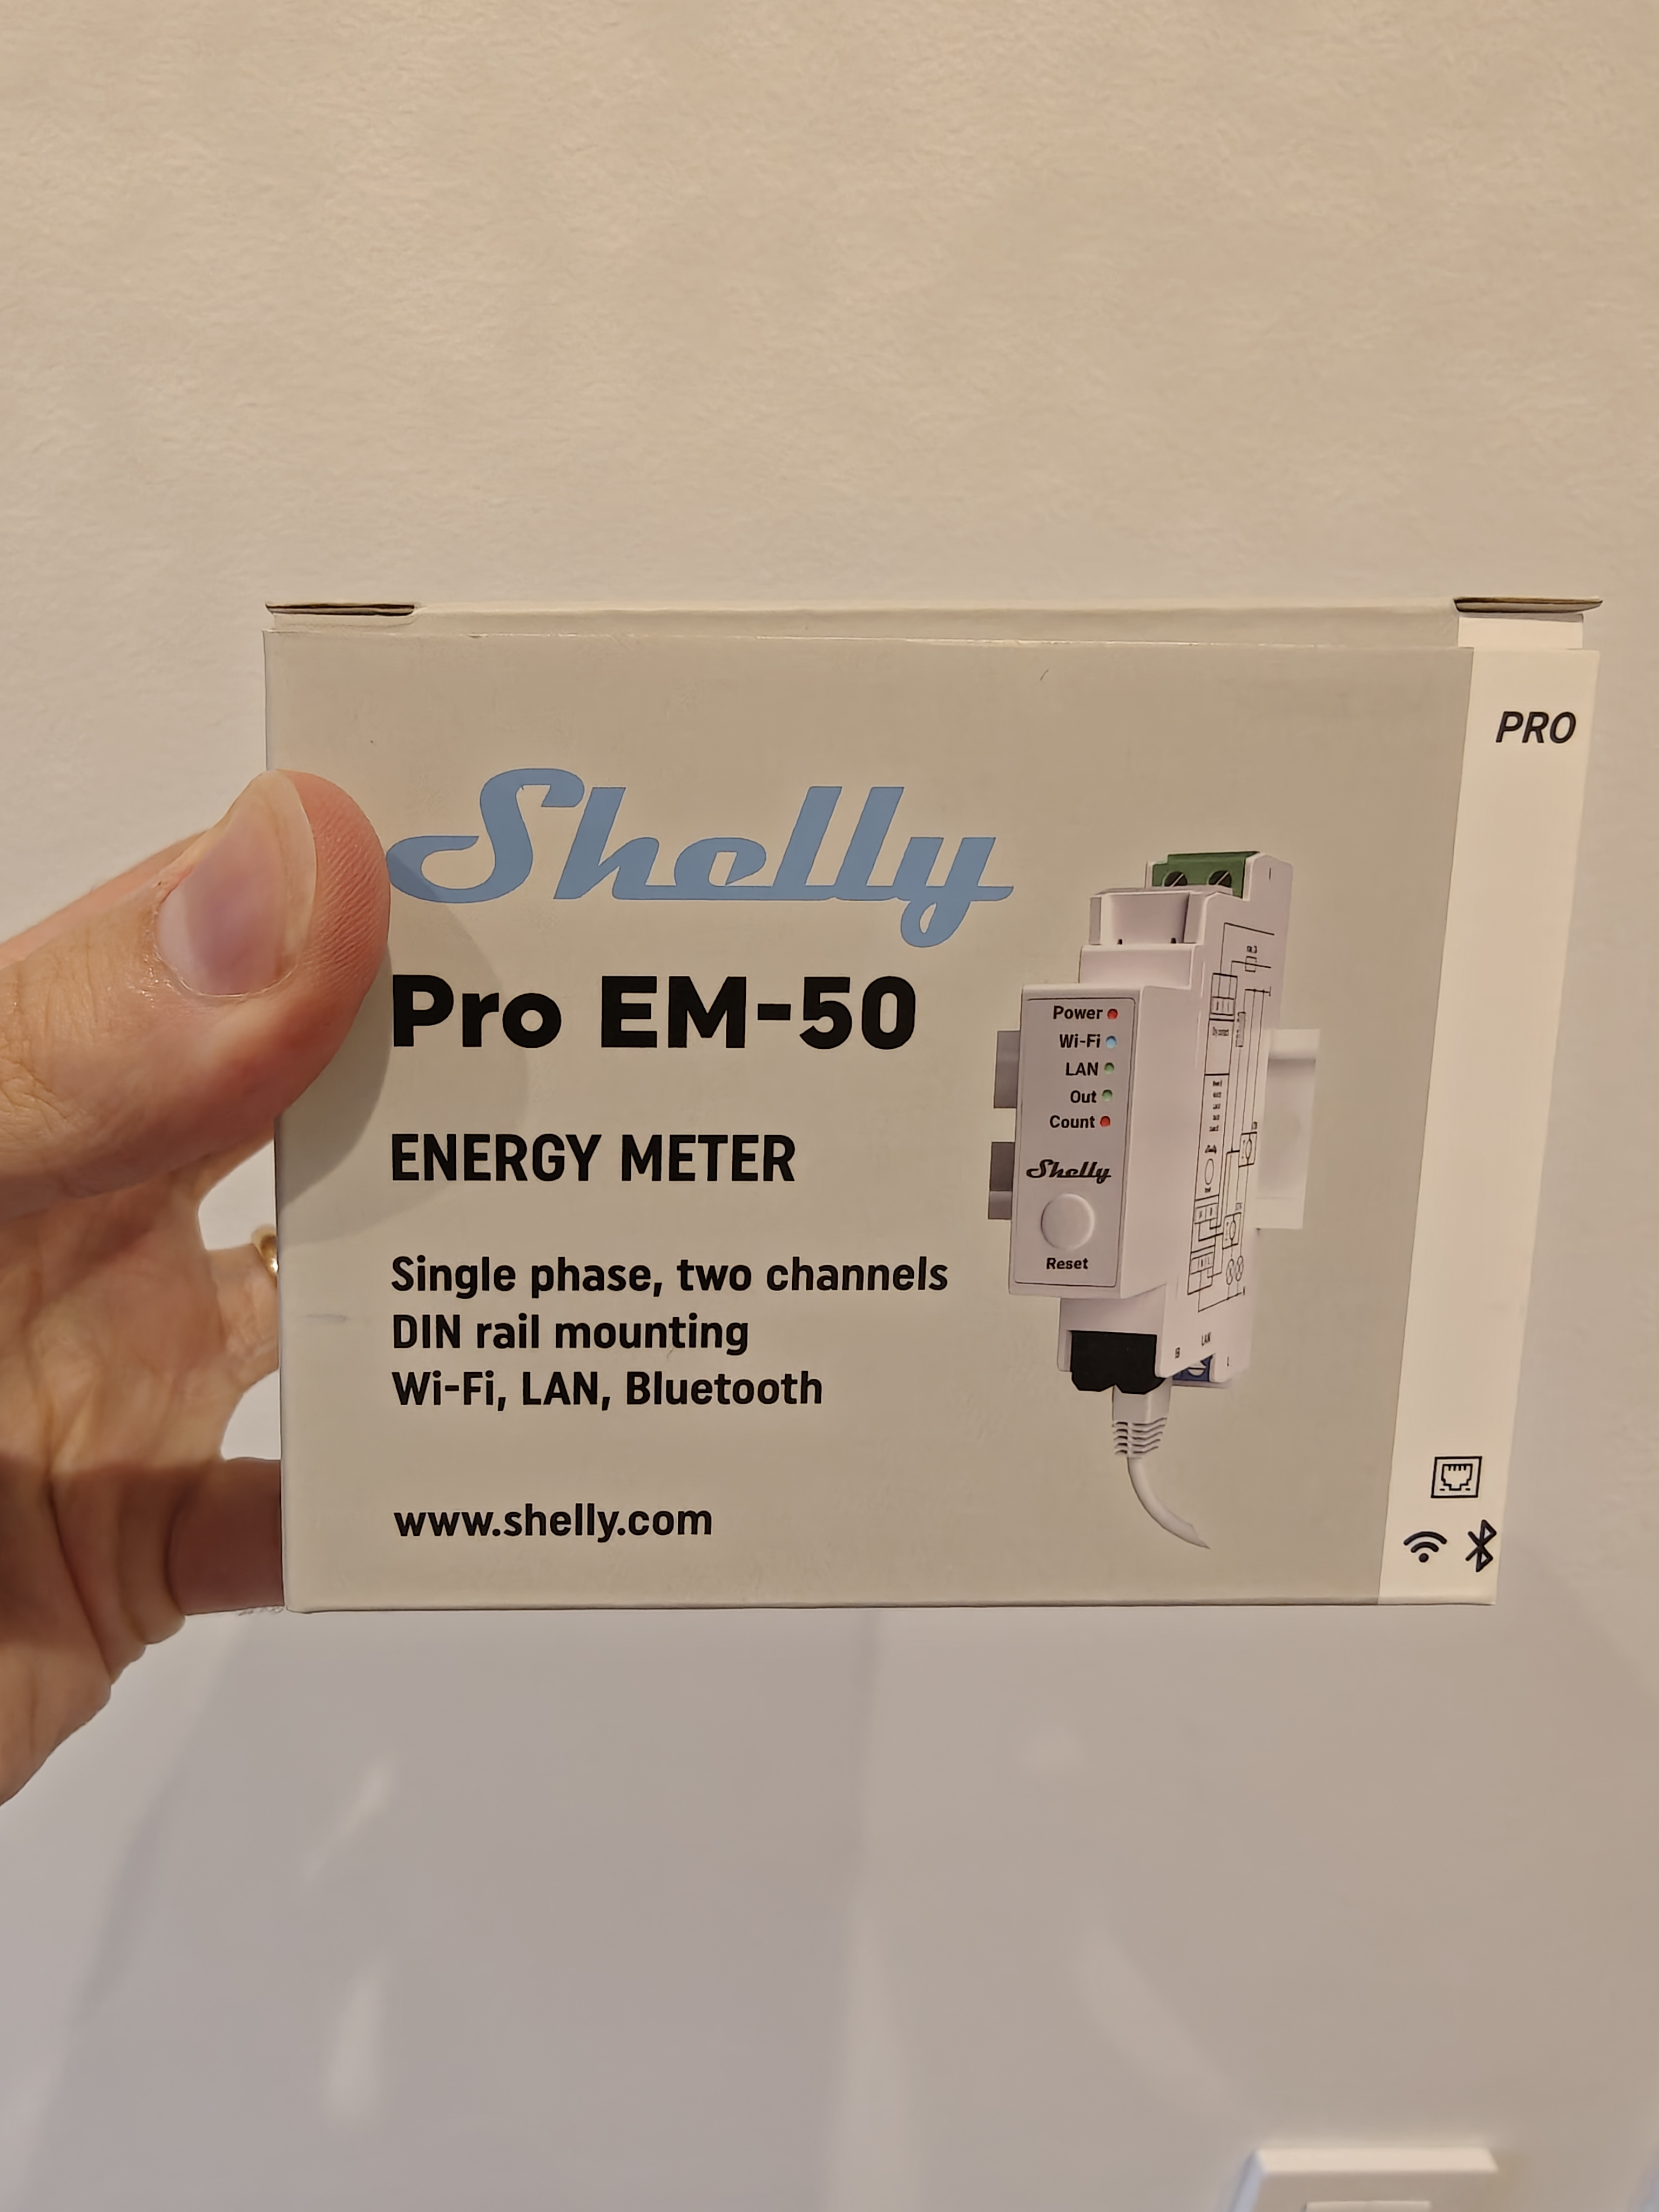
The problem was that I had no idea how to connect it to my electric panel! This was my first time dealing with AC.
The steps I followed:
- Learn the basics
- Buy the right equipment
- Get supervision from an electrician
All three steps are very important. You need to understand what you are doing. You need the right equipment to work on AC, i.e., equipment rated for up to 1000 V. And you definitely need help from a professional because, despite knowing all the theory, you can still make newbie mistakes.
Learning the basics
I picked up the "Reglamento Electrotécnico de Baja Tensión (REBT)", the official manual for becoming a certified electrician in Spain. After reading the chapters I was interested in, I went back and forth with GPT-6 to consolidate my understanding of the theory.
Buying the right equipment
I bought the following safety equipment:
- Fluke T5-600: voltmeter
- Screwdrivers that can operate up to 1000 V
- Cut-resistant gloves
- Electrically insulated boots
You will also need:
- H07Z1-K wire in different diameters
- Crimping tool
- Ferrules of different diameters
- Wire stripper
- Pliers for bending 10 mm² electrical wire, which doesn't bend easily
I am not going to lie: the upfront cost was huge. But safety comes first, and the tools I bought will be useful in the future.
Supervision from an electrician
This is the most critical part. One small mistake can get you electrocuted. One faulty connector or an incorrectly sized wire can burn the house down.
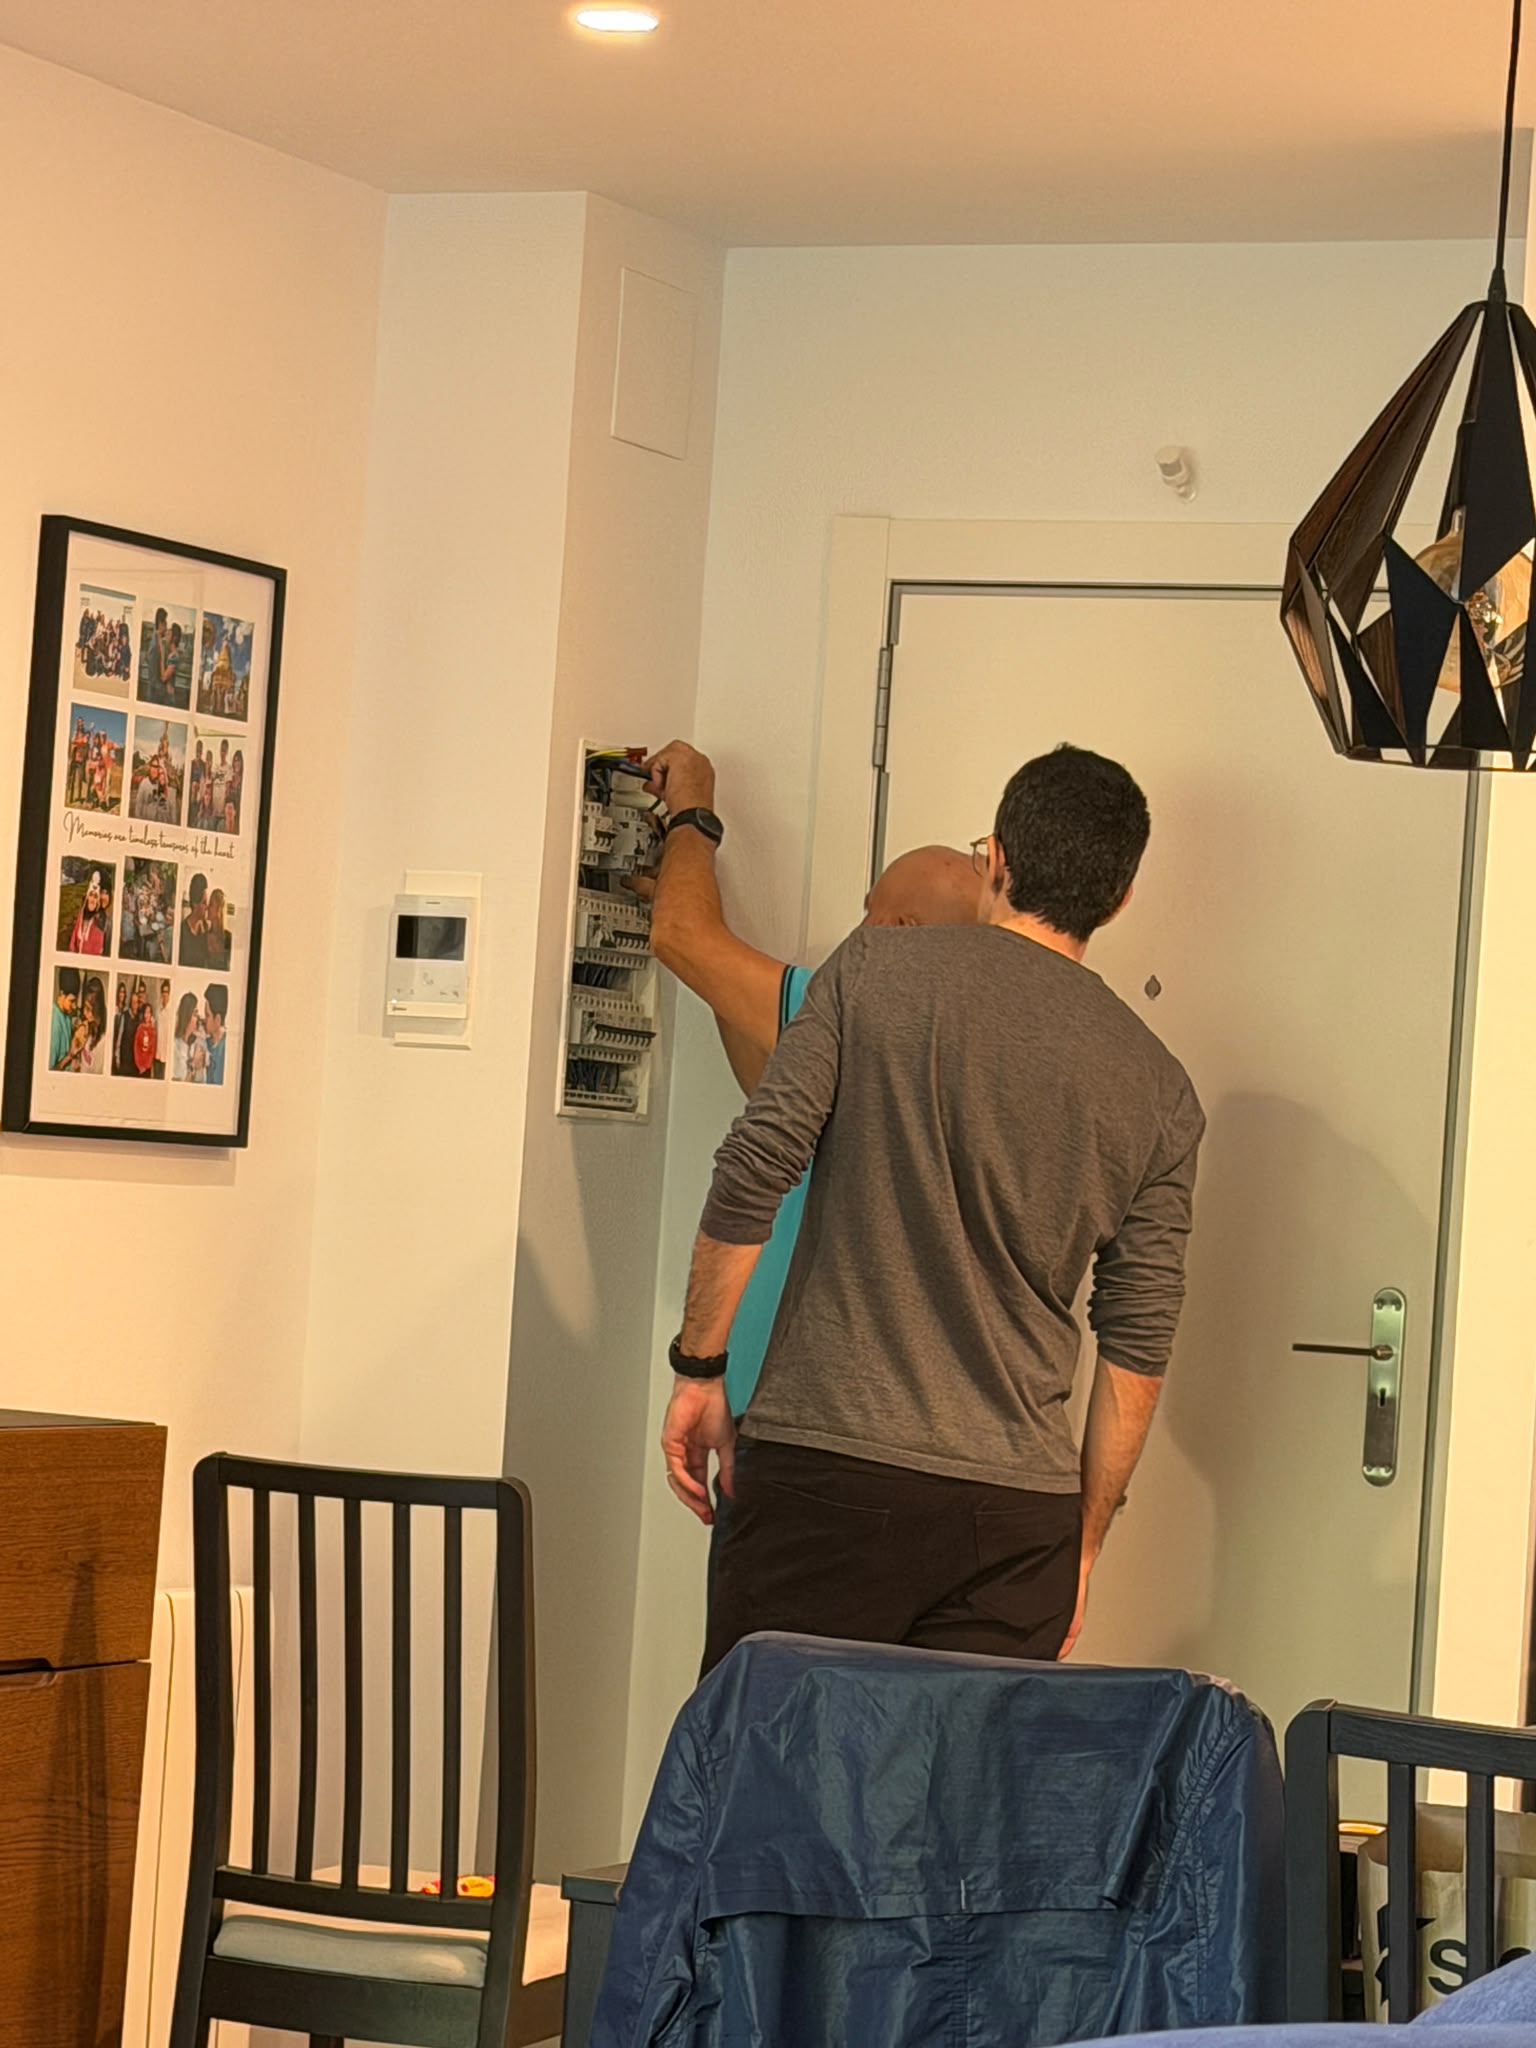
I am grateful to Juan Manuel Moreno, a relative who is a retired certified electrician. He answered all my questions patiently and came to my house to supervise the entire installation.
Electric panel
Before-and-after pictures:
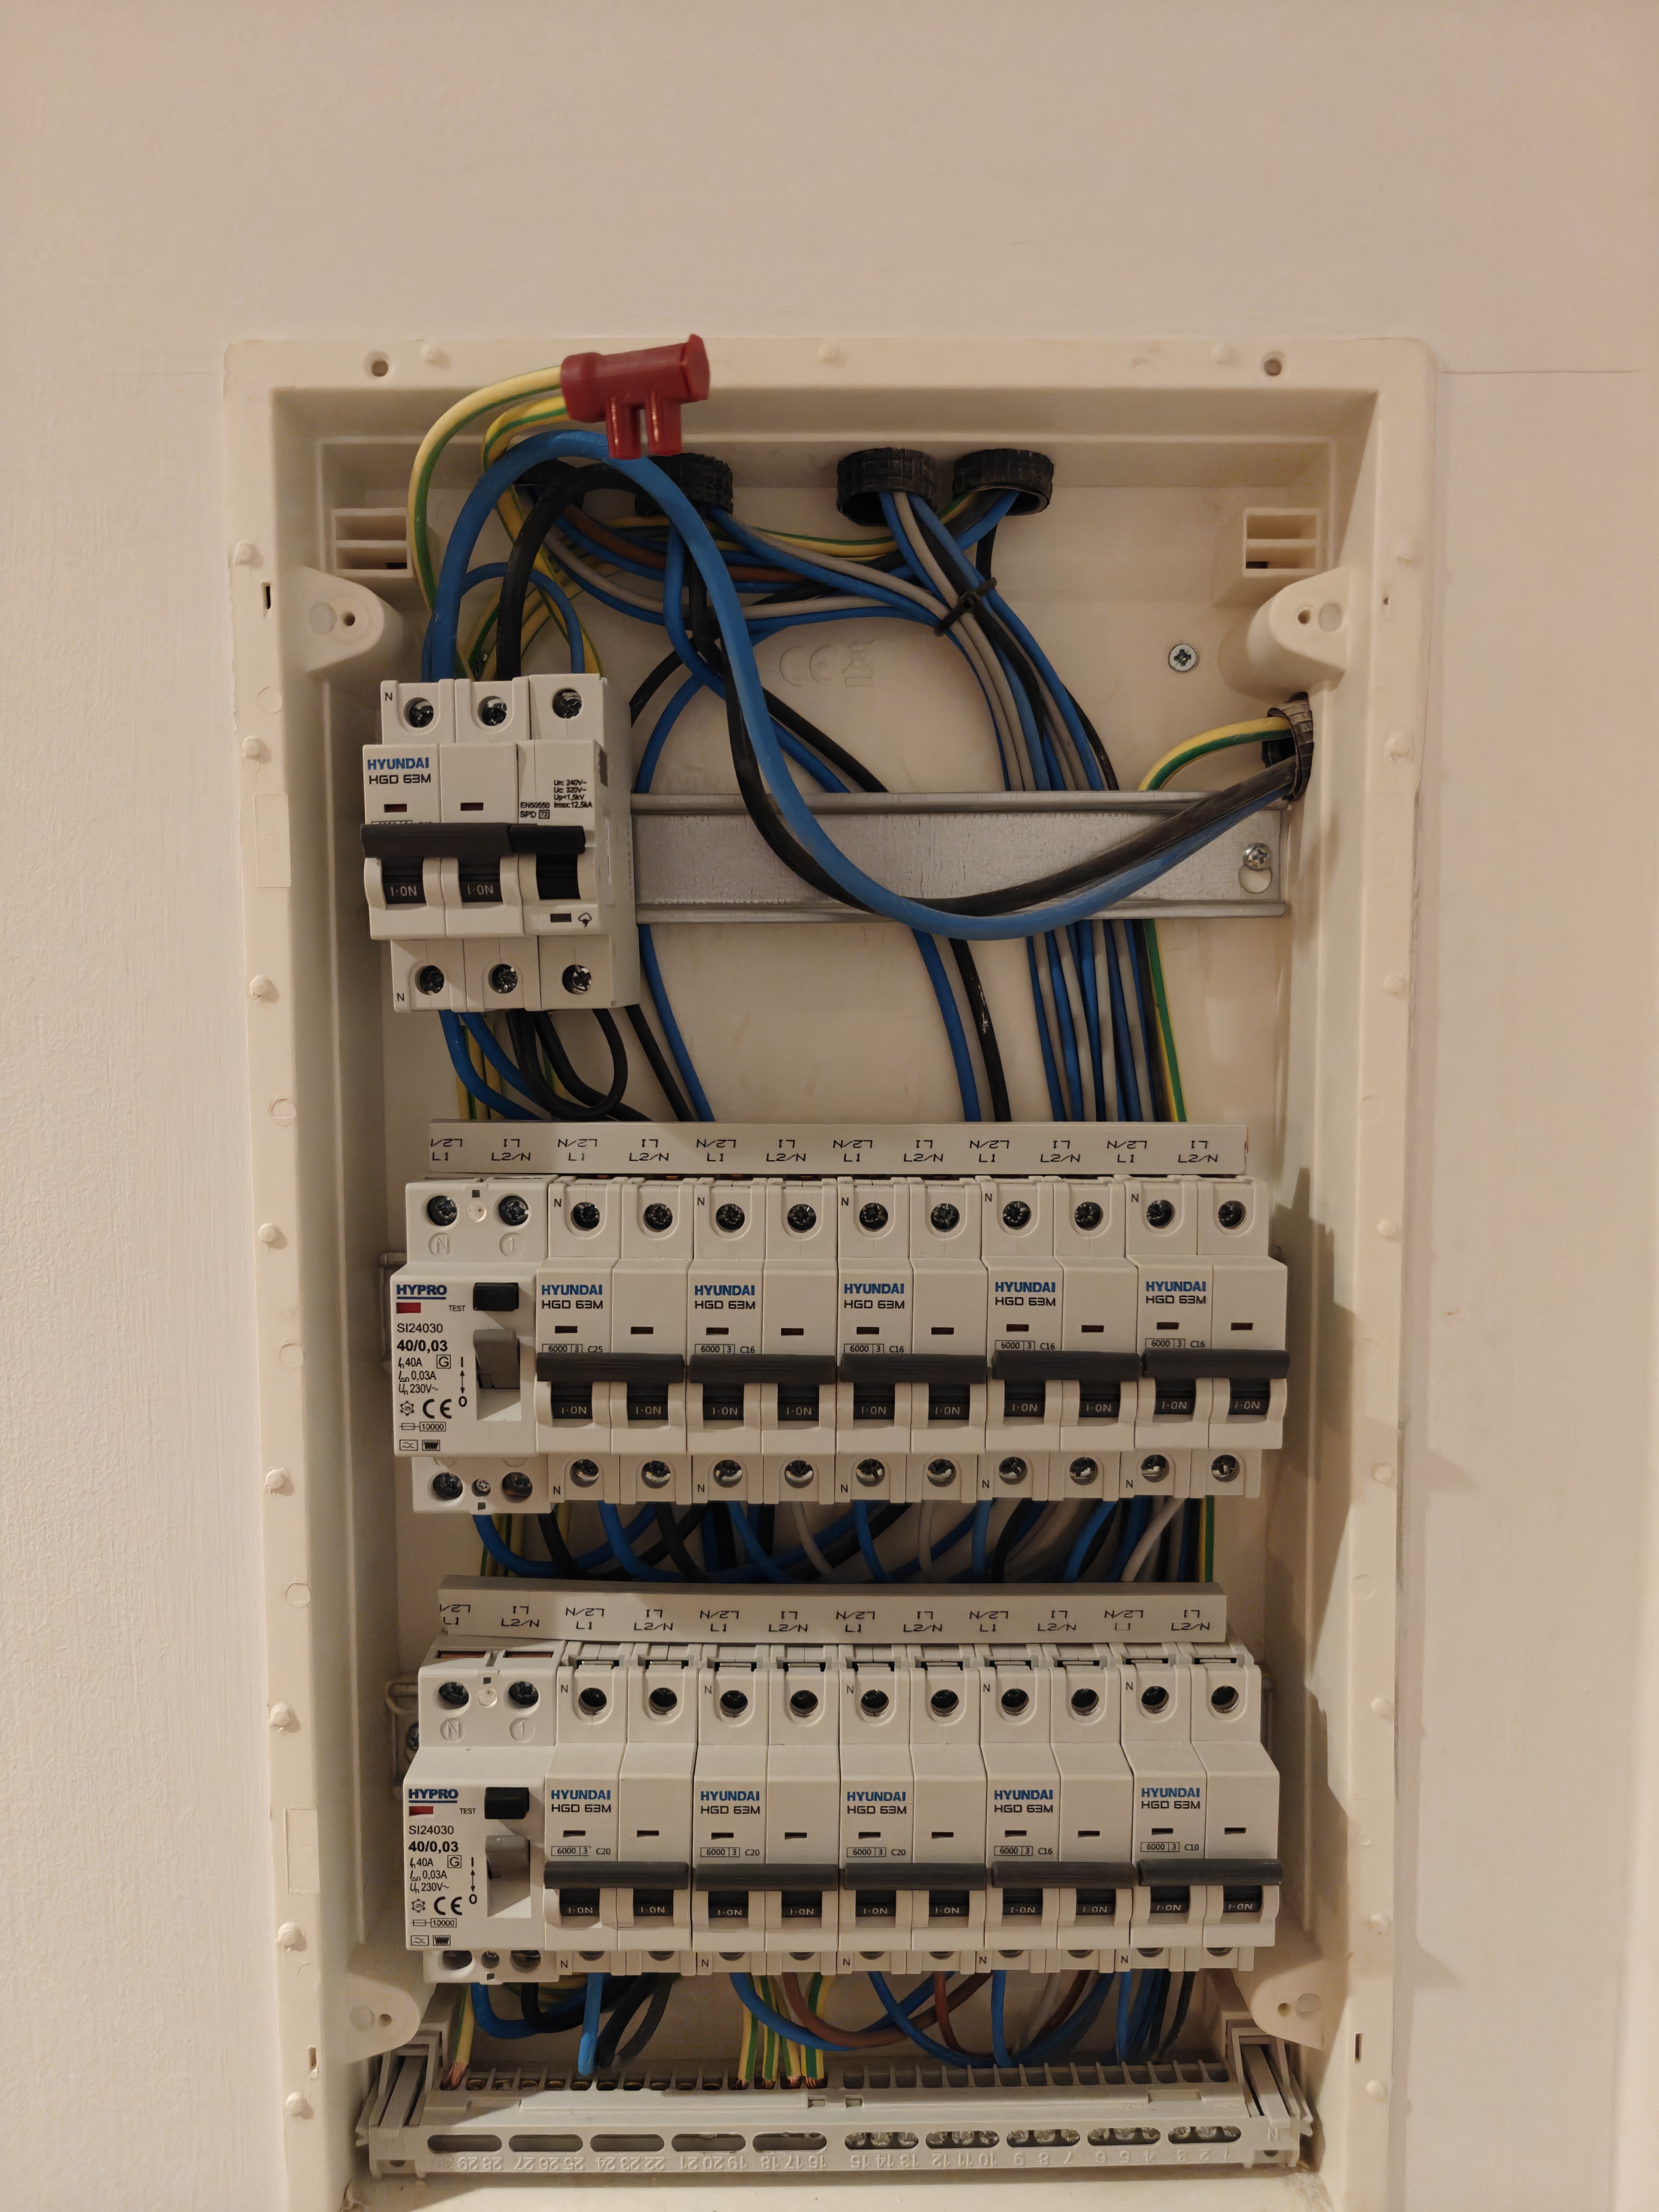
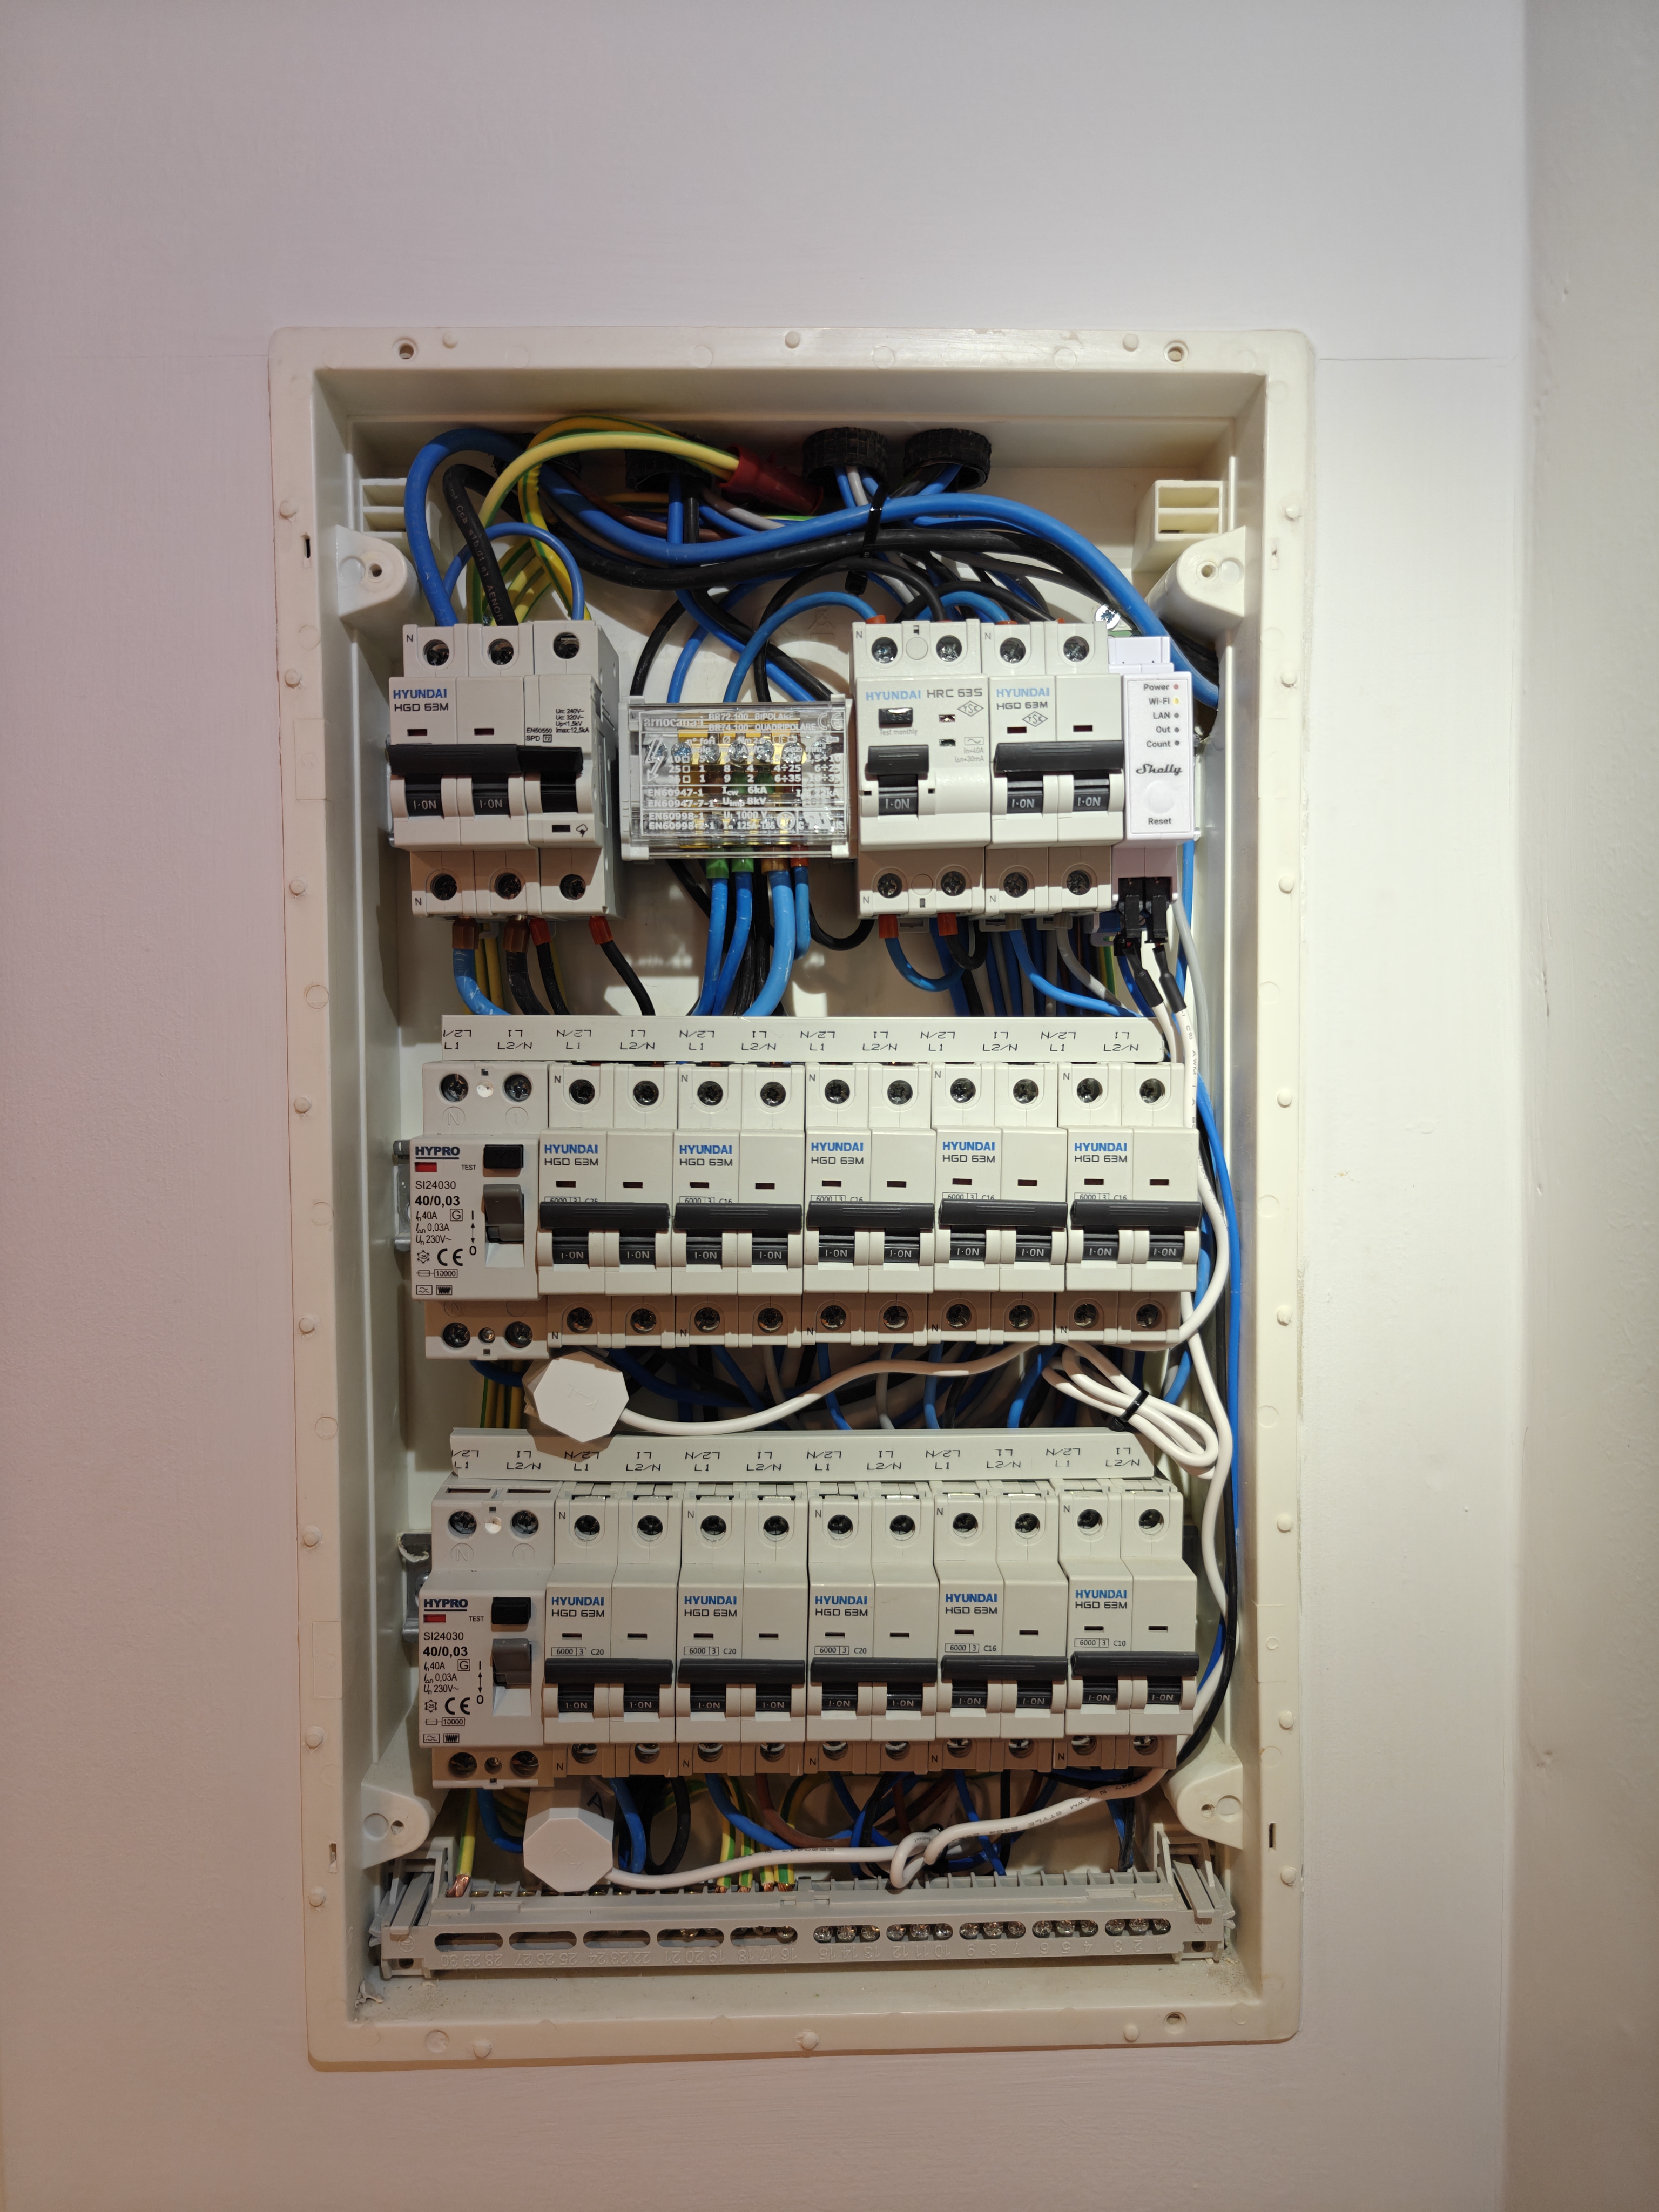
What we did:
- We added a distribution block for the 10 mm² grid wire.
- We made an independent circuit for the fridge.
- We added the Shelly Pro EM-50 and installed a clamp on each independent circuit.
- All the wires were terminated with ferrules.
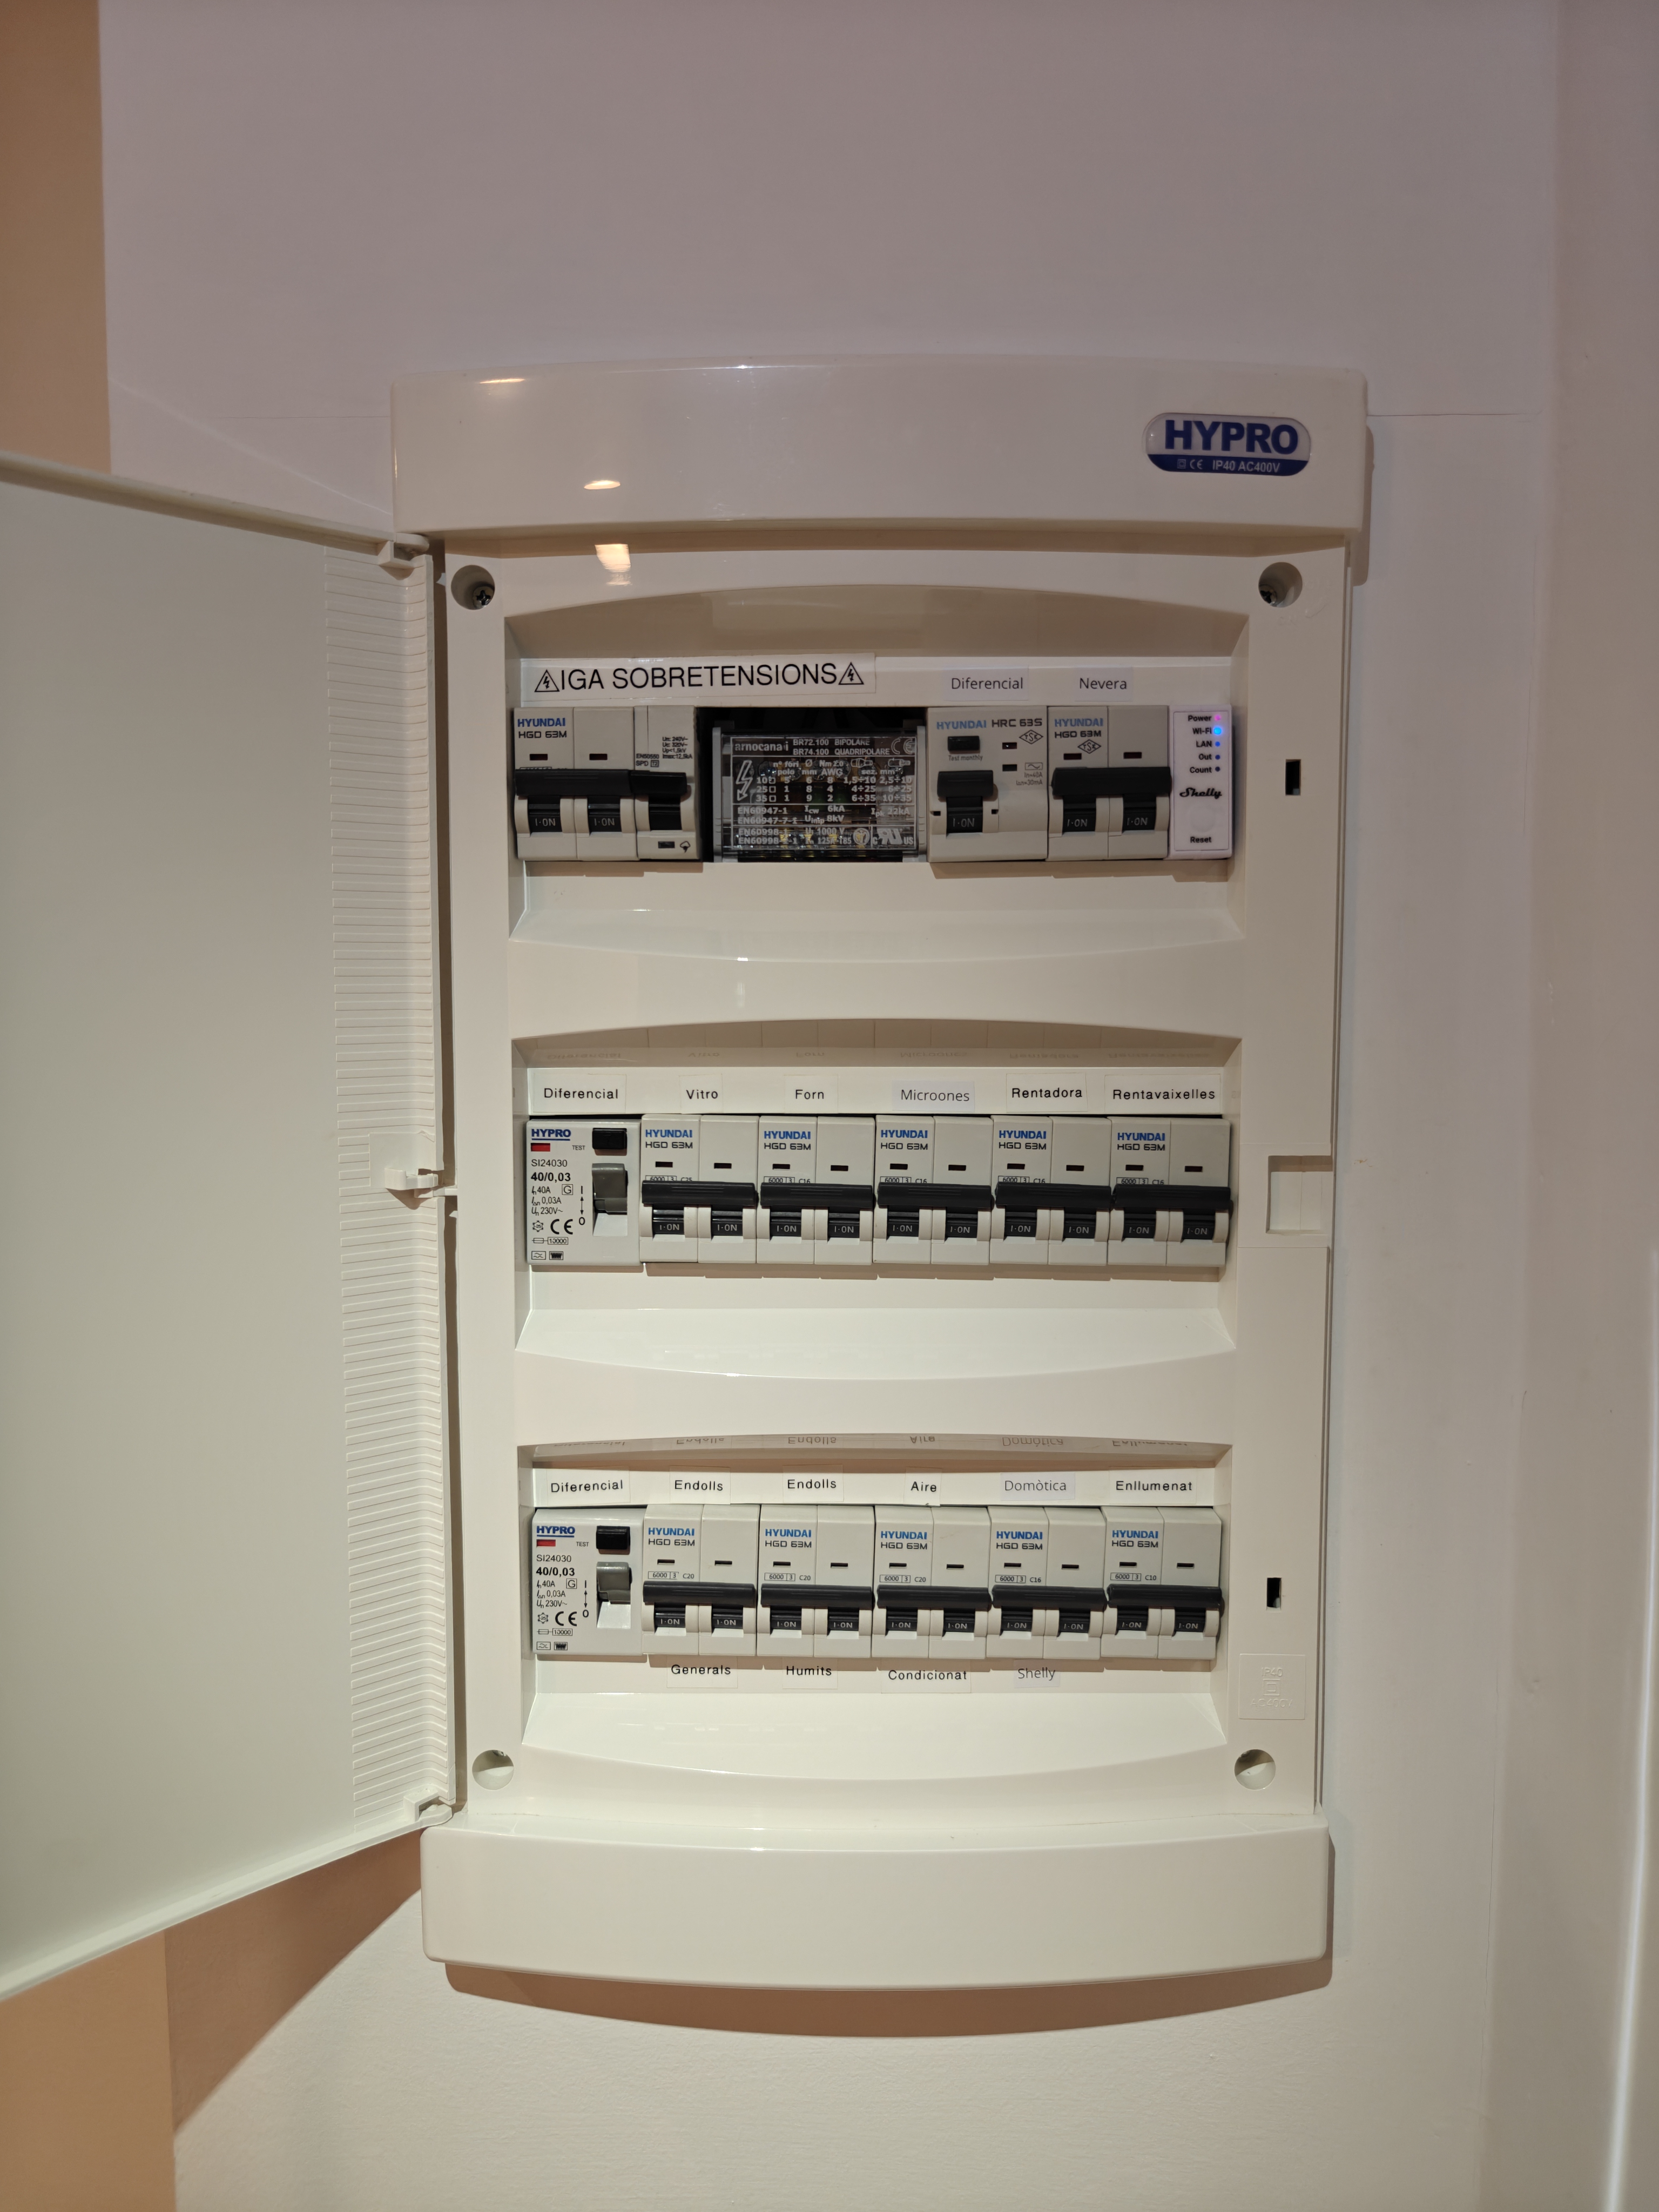
We labeled everything so my wife could operate the panel.
Home automation
Integrating it with Home Assistant was the easiest part:
- Power on the Shelly and check that the Wi-Fi LED is blue
- Connect to its Wi-Fi network using your phone
- Open a browser and go to http://192.168.33.1
- Connect the Shelly to a Wi-Fi network
- Add the Shelly integration to Home Assistant
- Three new devices should appear: the Shelly and the two clamps
- Optionally, update its firmware over the air
To configure the Energy tab:
- Add the grid connection, repeating this step once for each clamp
- For energy imported from the grid, select Clamp 0 power consumption (kWh)
- Set the type of power measurement to Standard
- For power measurement, select Clamp 0 power (W)
- Optionally, add an entity that tracks the price per kWh
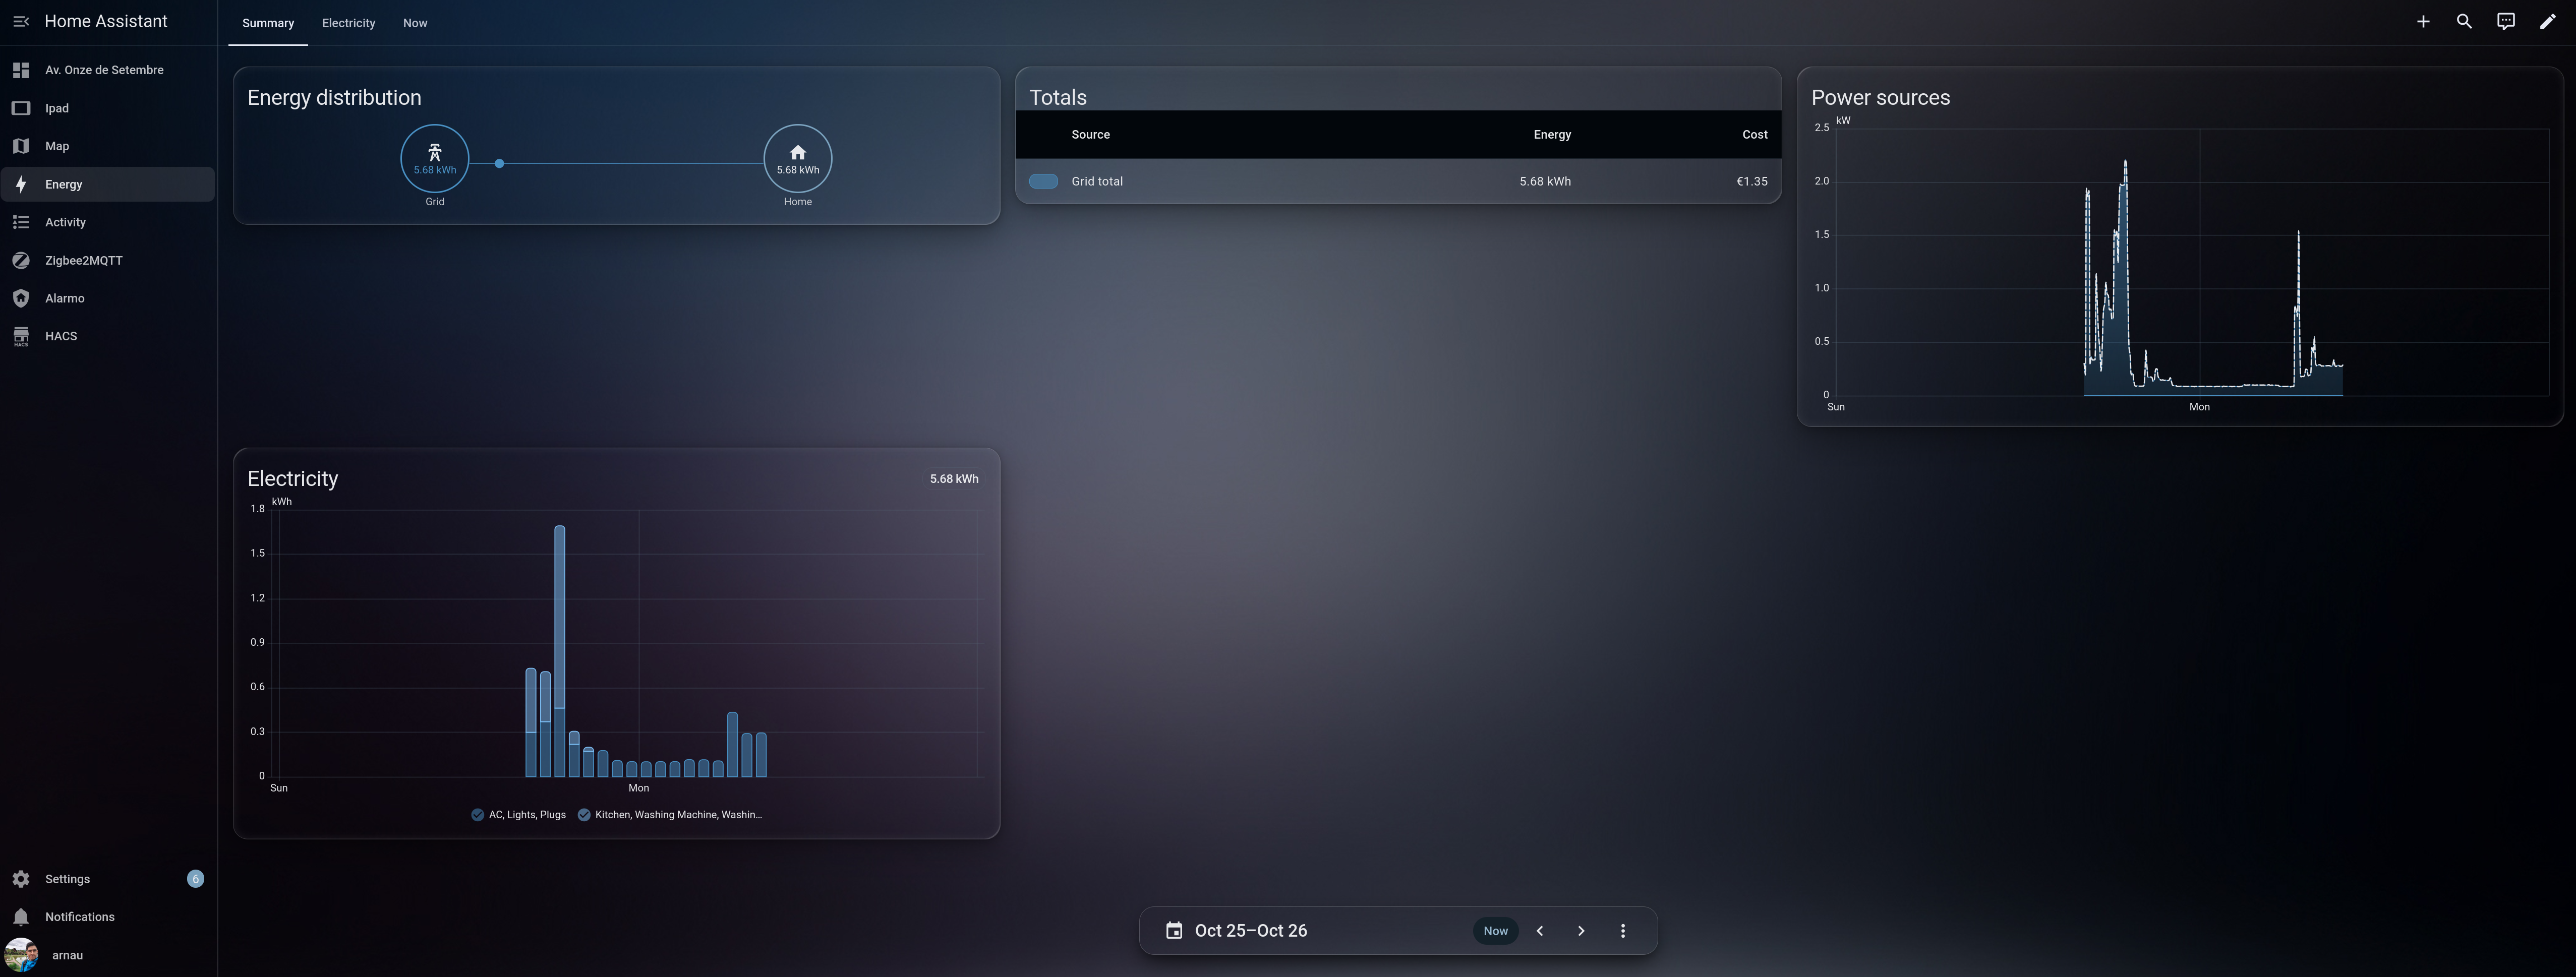
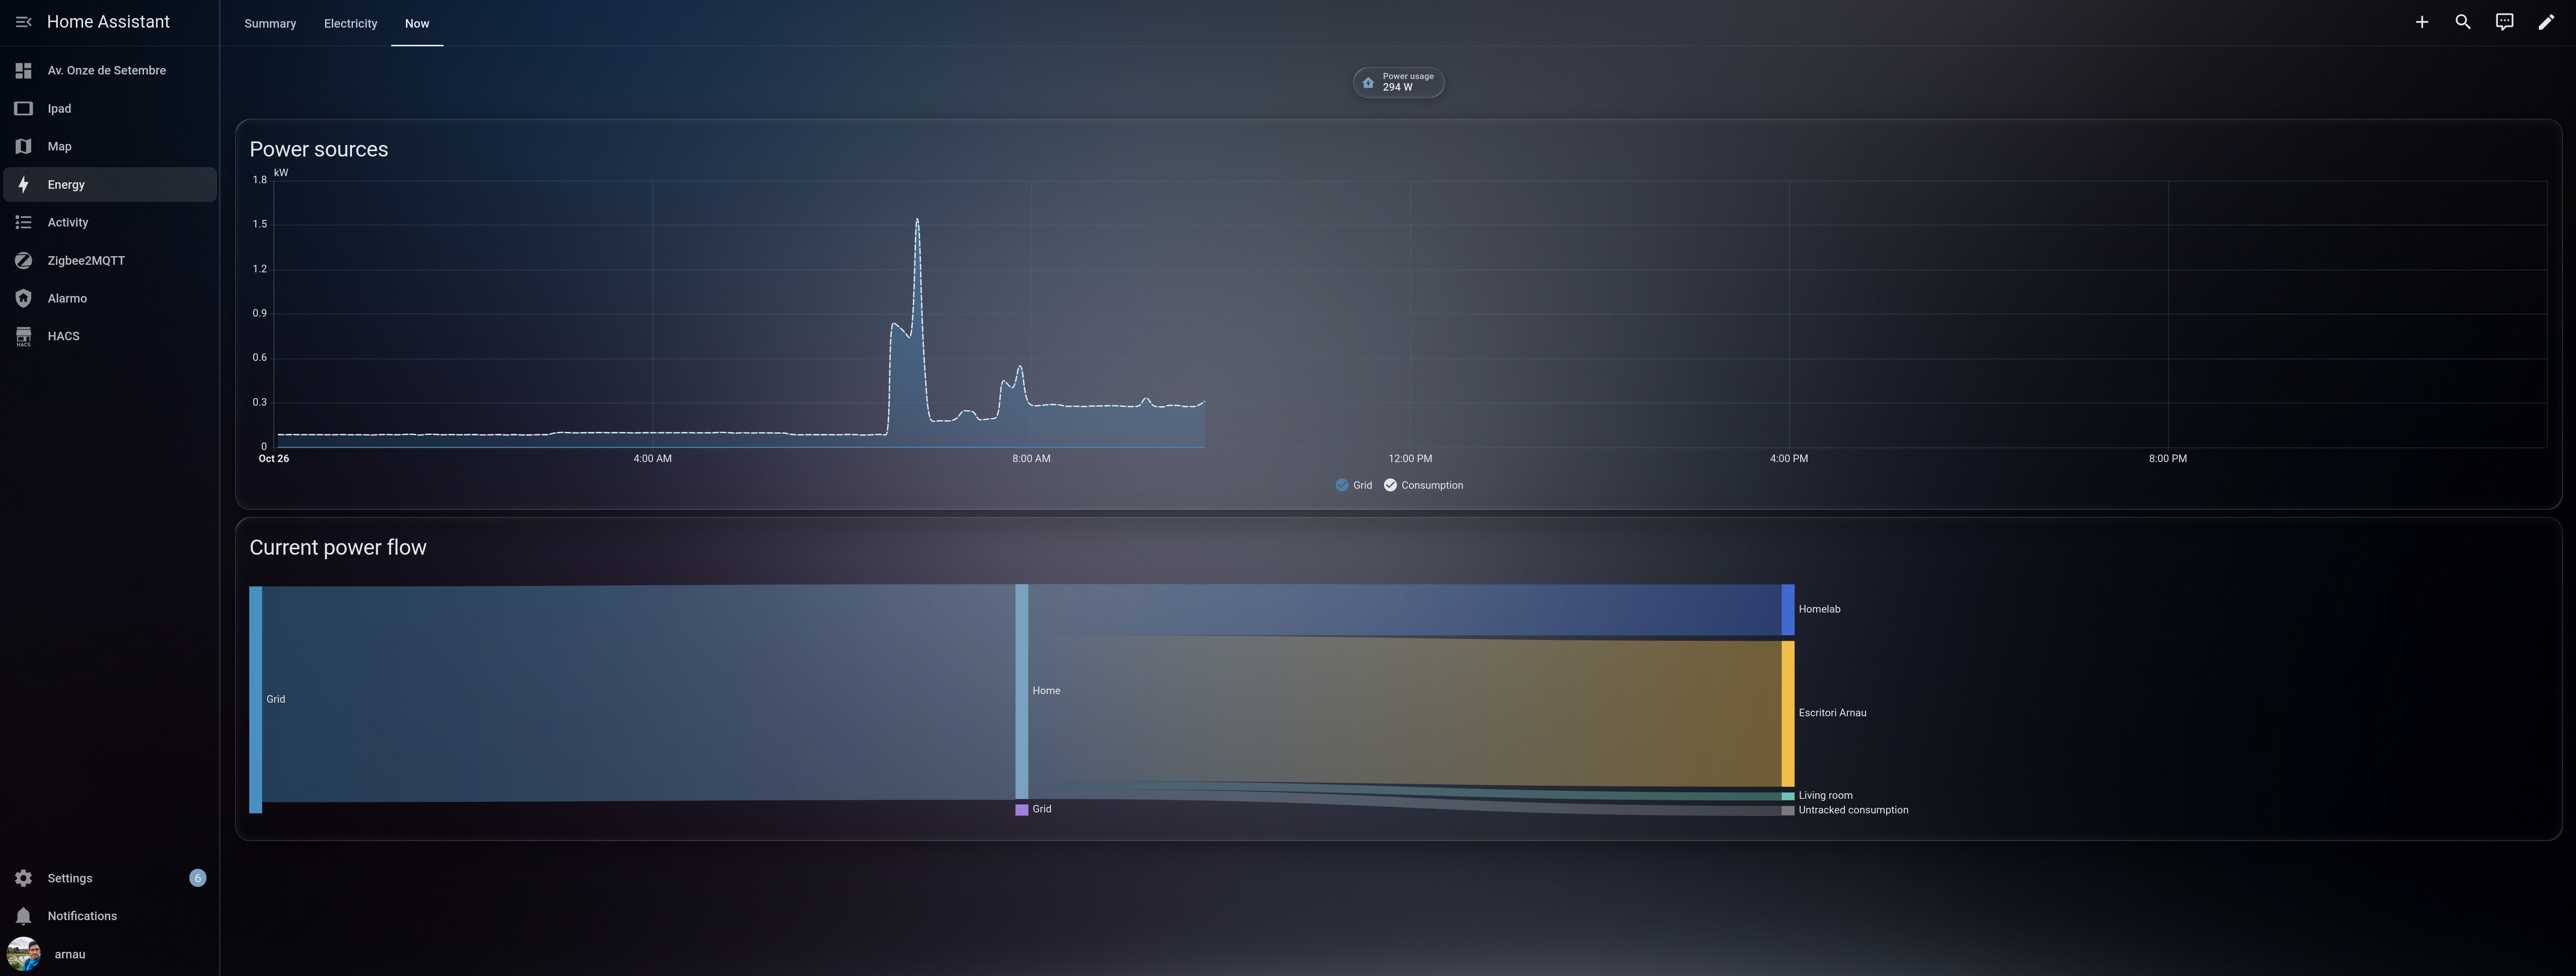
If you have smart plugs, add them to the 'Individual electrical devices' section of the Energy tab:
If you have further questions, send me an email.